The Trolltunga Hike: Everything You Need To Know
Ready for an unforgettable adventure? Look no further than the Trolltunga hike, one of Norway’s most iconic natural landmarks.
But before you start your journey, there are a few things you need to know about this stunning rock formation that has become a must-see destination for outdoor enthusiasts worldwide.
Just so you know: Some links on this page are affiliate links, which means I might earn a small commission if you book or buy through them, at no extra cost to you. Thank you for your support!
What Is Trolltunga
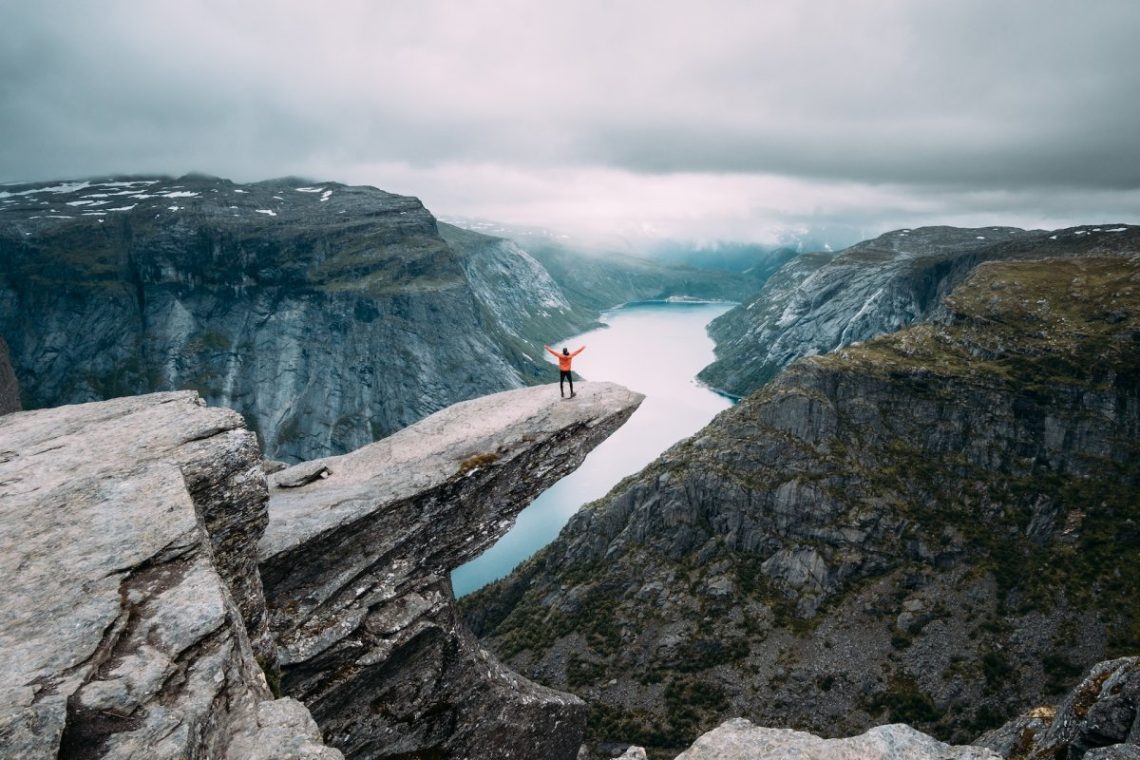
Trolltunga, also known as the “Troll’s Tongue”, is a spectacular cliff formation in Norway that has become a bucket-list destination for hikers and nature enthusiasts worldwide. Located in the scenic region of Hardanger, Trolltunga protrudes horizontally from the mountainside, resembling a massive tongue hanging above the stunning Ringedalsvatnet Lake.
The rock ledge stretches about 700 meters above the ground, offering breathtaking views of the surrounding fjords, mountains, and valleys. The Trolltunga Hike is among the most famous routes in the country.
Is Hiking to Trolltunga Safe?
Trolltunga is one of Norway’s most impressive and popular natural landmarks, but at the same time, it is also one of the country’s most demanding hiking trails. The route is long, with steep ascents and changing weather conditions that can challenge even experienced hikers. While the landscape is magical, staying safe at Trolltunga requires respect, proper equipment, and careful planning.
Even if someone is well prepared, travel insurance remains essential when visiting such an area. An unexpected sprain, the need for medical assistance on the mountain, or even a rescue operation can be costly and extremely stressful.
Personally, I trust and recommend SafetyWing’s Nomad Insurance. I use it myself because it covers both medical incidents and cases of loss or delays, while the reimbursement process is simple and their response is very fast. This insurance also offers an add-on for extreme sports, which are generally not covered by other insurance providers. Convenient when traveling in the mountains of Norway, don’t you think?
You can learn more on their website.

How To Get There
1. Where To Set Your Base
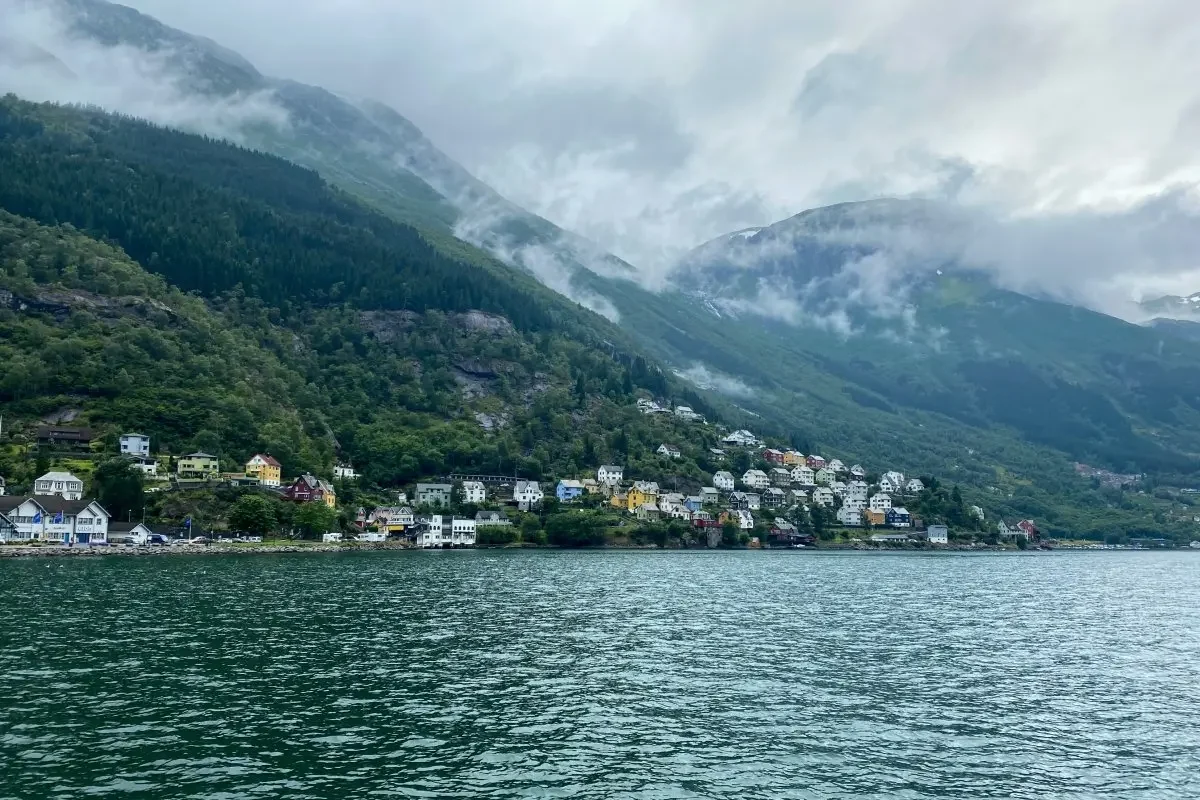
The best place to set your base for your Trolltunga hike would be Odda. It is a nature lover’s paradise. Mountains, glaciers, and crystal-clear fjords make it the perfect destination for adventurers seeking an escape from the hustle and bustle of city life.
2. Arriving At Odda
Now, since Bergen is the closest big city to Odda, here are a few options for getting from Bergen:
By Car: The most direct way to get from Bergen to Odda is to drive, which takes about 2-2.5 hours. The route takes you through some stunning mountain scenery, so it’s definitely worth the drive if you’re comfortable behind the wheel.
By Bus: If you don’t have a car or you are searching for a more budget-friendly solution, you can take a bus from Bergen to Odda. Skyss is the local bus company (it is also the one we used) in the Bergen area, offering several daily departures to Odda. The journey takes approximately 3 hours, and tickets can be purchased online or at the bus station.
The Skyss ticket system is divided into zones, determining your ticket’s price. The number of zones you travel through depends on the distance you travel.
The journey from Bergen to Odda covers several zones, so the cost will be higher than a single-zone ticket. A single ticket from Bergen to Odda costs 194 NOK, while a 24-hour ticket for Zones A, B, and C costs 170 NOK. This may be a good option if you plan to travel more within 24 hours, such as taking a bus or tram within Bergen.
Fun Fact: The ticket also may cover a needed boat ride, and oh, what an experience that was!
3. Where To Stay In Odda

Since hiking to Trolltunga is the main source of income for the town, there is a wide range of accommodation options available.
Objectively, the most convenient one is Trolltunga Camping. Although it is primarily a campsite, it also offers several private rooms, though with shared bathrooms. It has a kitchen where you can cook your own meals, which is extremely convenient. The campsite is located next to a lake, making it an ideal place for a walk the day before your hike or for recovery the day after. This is also where I stayed, and I was very satisfied.
If, however, you feel that staying at a campsite or using a shared bathroom is not for you, there are plenty of accommodation options in the center of Odda. There, you will mainly find apartments rather than hotels. Odda City Apartments and Blue House Odda are renovated and popular apartments that will give you more independence. They are among the more affordable apartment options, though definitely more expensive than the campsite.
On the other hand, if you want to stay somewhere different, closer to Trolltunga, and you have a car with you, Tyssedal Hotel in the town of the same name is a well-known option. It is a more luxurious accommodation, and there are beautiful hiking opportunities in the surrounding area. Nearby, you will also find the hydropower museum.
Getting To The Path To Start Your Trolltunga Hike
A shuttle bus to Trolltunga runs from the camp twice daily (05:45 and 07:10) to the parking. It made our trip a lot easier, and I highly recommend it. However, it has limited spots, so make sure to book tickets in advance.
The shuttle bus will take you to Skjeggedal, also named P2. From there, you will have to reach P3, the starting point of your Trolltunga hiking trip. After that, you can walk or take another bus, which takes approximately 10-15 minutes, and will save you about 2-3 hours of walking. The bus ticket cost can vary depending on the season, but the price was around 100 NOK.
While we wanted to do the Trolltunga hike solely on foot, we found out that this part was basically a road, so we took the bus to P3. I do not regret this decision, to be honest.
From P3 and the start of the path, the distance to the top is approximately 10km.
The Path
The first kilometers (Sorry, Americans) of the Trolltunga hike are pretty straightforward, and the height was the same. After around 45 minutes, you will reach the infamous Gryteskaret pass. It is the most physically challenging part of the trip, as the altitude increases rapidly. After finishing this part, I was surprised to see how little the covered distance was.
However, from that point on, the Trolltunga hike gets a lot easier. You will pass through lakes, streams (you can refill your water bottle), and waterfalls. Nature is majestic! Every meter covered gets even more scenic.
After a few hours, you will reach the famous rock formation and have the chance to take the photo you’ve always dreamed about, kind of. But more on that later. You must wait in long lines and take your photos within minutes.
The way back is from the same path, which is much easier. It took less time, and it was less physically demanding.
Tips For Your Trolltunga Hike
1. Do Some Physical Preparation
For example, a few months or weeks before your hike, try to do some long-distance walking or running to make the hike less exhausting and more enjoyable.
2. Have Hiking Shoes
Some parts of the Trolltunga hike are more demanding and might be wet or covered in snow. Hiking shoes can protect you from slipping and eventually getting injured. A flashlight can also come in handy.
3. Take Clothes For Any Occasion
Weather in the mountains can change rapidly in a matter of hours. Our Trolltunga hike started with rain, continued with extreme fog, then a rainstorm, and ended on a clear sunny day. Always have water-resistant equipment and another pair of clothes to change into after the end of your trip. Better prepared than sorry.
4. Always Check The Weather Forecast
As I wrote above, weather conditions can change rapidly. You have to check the weather the night before. Only do the hike if the weather is going to be moderate. On our return, we faced a massive, unpleasant rainstorm that made it much harder to go down. The good idea is to have a spare day in Odda to change your hike day if weather conditions do not allow it. You can check the Facebook page “Trolltunga trail information” for daily updates.
5. Do Not Get Disappointed If Something Goes Wrong
We couldn’t see the view from the rock because of the fog. It is still the best hike I’ve done to date. Stay positive; the photo is not everything.
6. Take Plenty Of Food And Water With You
Have cereal bars, bananas, and a full meal. The Trolltunga hike will take a lot of time, and you will burn many calories. Hypoglycemia can cause a lot of problems, so be prepared!
7. Have Toilet Paper And Trash Bags
The path has no toilets or trash cans. Nature is your friend, but you have to be respectful. Leave NO trash on the mountain.
Final Thoughts
The Trolltunga hike was less demanding and challenging than I had read. It has some tricky parts, but it is doable for someone with some experience. Nature is spectacular, and the views (the ones we managed to see) are from another world. It was totally worth the hustle, and I would sure do it again.